Tuesday, 18 April 2023

How to Create a MediaWiki Page Step by Step With Pictures Tutorials


How to Create a MediaWiki Page

Method 1: Manually Creating A Page

This is the method you will use upon installing MediaWiki because you won’t have any pages, with the exception of the “you have successfully installed MediaWiki” page.

You really have two options here. The first is to delete the dummy main page and create a new one or to simply edit the page itself.

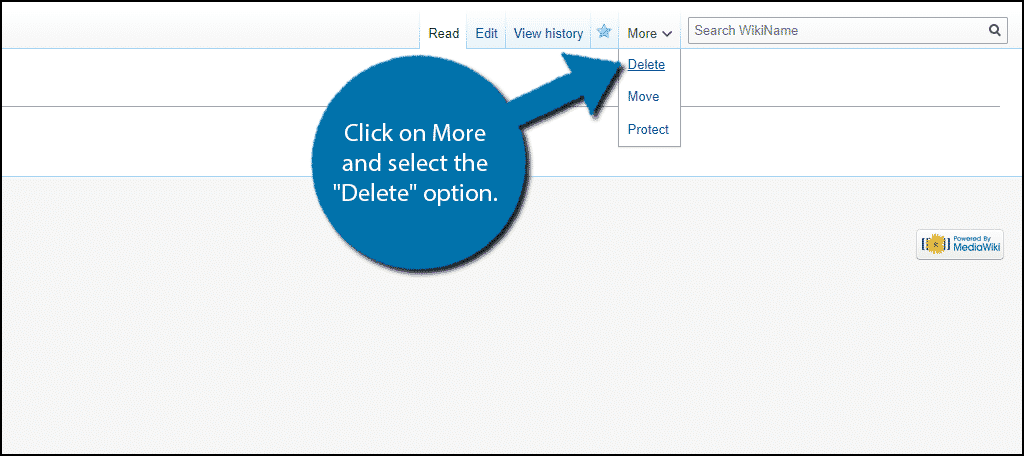
To delete the dummy page, click on More and select the “Delete” option.

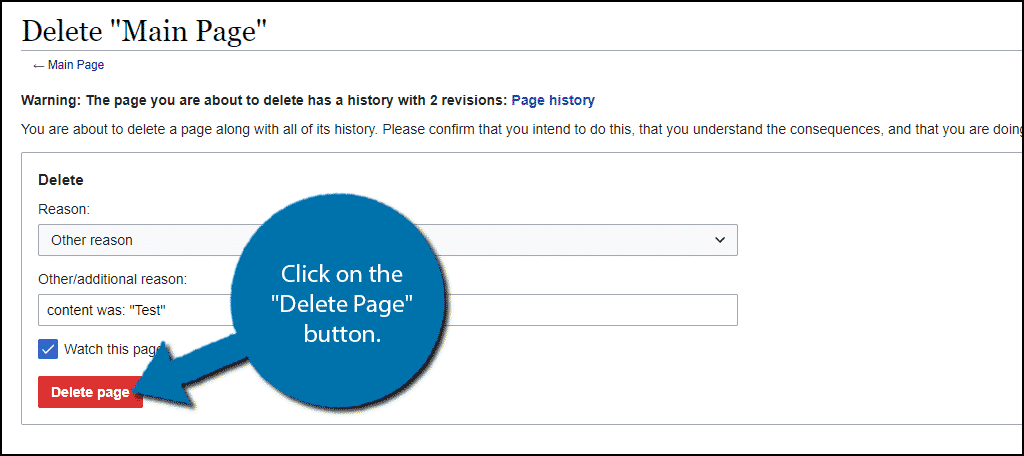
Upon doing so, you will be asked why you are deleting the page. You can add a reason if you like, but it is not necessary. Click on the “Delete Page” button.

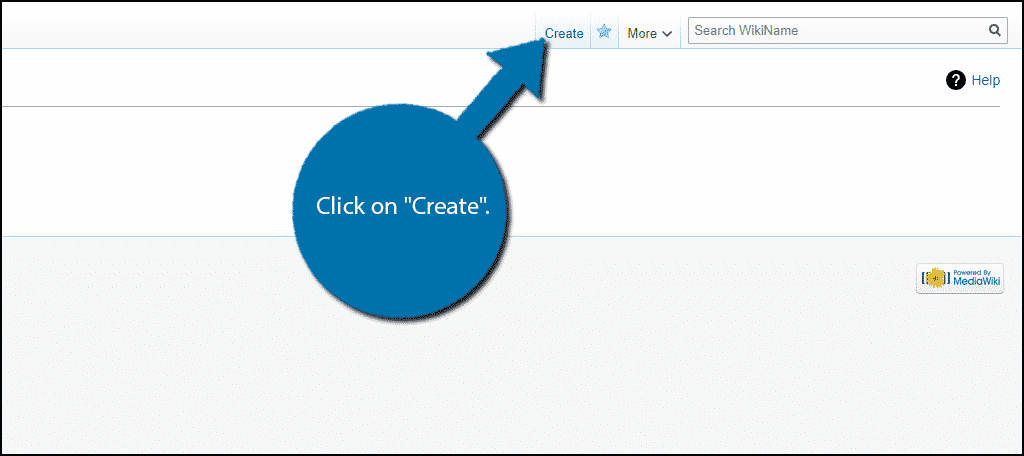
Upon doing so, the page will be deleted and you will see an Action Complete page. Whenever you delete a page, you will have the  “Create” option appear. Click on “Create”.

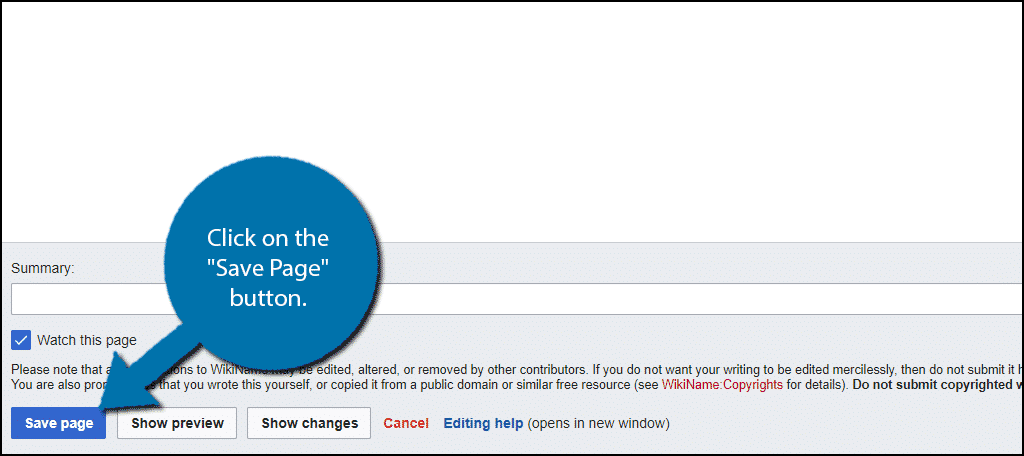
Here you will find yourself on the MediaWiki create page area, where you can enter all of the information you want. Click on the “Save Page” button when you are done.

Save Page #1

This is how you can create the main page of your wiki at the start. You will never see the “Create” option again unless you delete a page. As such, this will not be a popular method, but it is worth mentioning for fresh installs.

For all future MediaWiki page additions, you will use the following methods.

Method 2: Searching For A Page

This method involves searching for a page that doesn’t exist and using the prompt to create such a page. This may sound counter-intuitive, but I assure you it makes perfect sense once you get started.

In the search box, search for the page you wish to create.

Search for Page

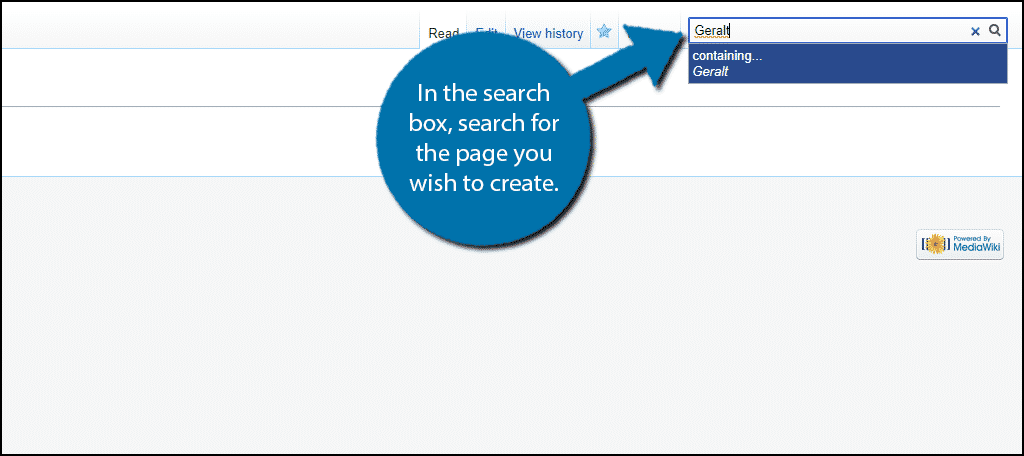
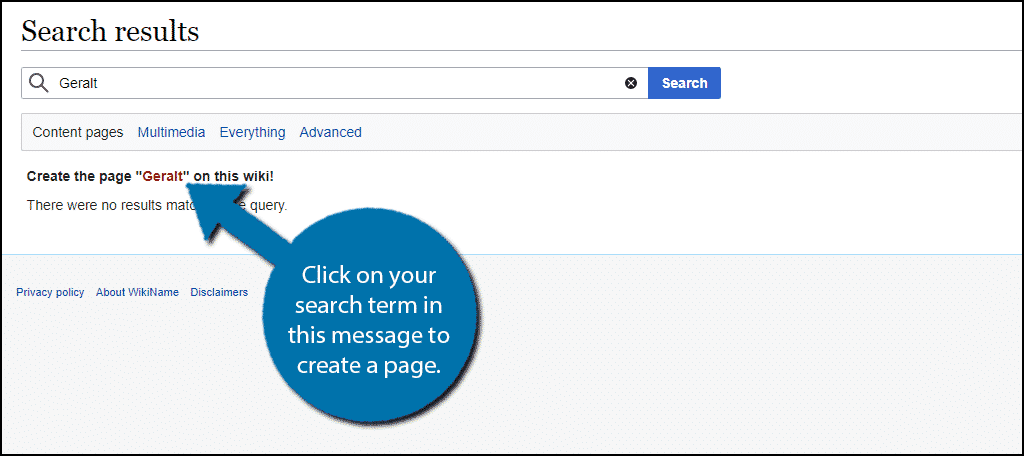
As long as the page does not exist already, you should see a “Create the page “example” on this wiki!” message. Click on the “example” to create the page.

In this case, I searched for Geralt, so I will click on Geralt.

Click on Search Term

You will now be able to create a page for that search term. Click on the “Save Page” button when you are done.

Save Page #2

This method is ideal for filling out your wiki based on what it does not have. Don’t be afraid to create a page and leave it blank for now. It can be a useful reminder to fill it later on.

Method 3: Creating An Internal Link

The third method you should use to create a MediaWiki page is to create an internal link. Doing so will actually create a page for that term. This is because the entire point of a wiki is for it to link internally as a detailed knowledgebase of the subject.

External links should only be used as supporting evidence or where necessary.

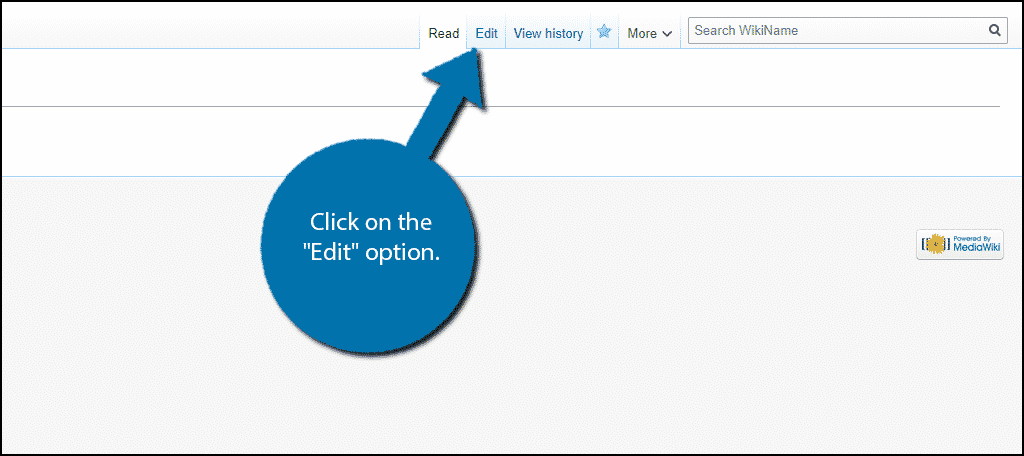
To get started, go to an existing wiki page. Once there, click on the “Edit” option.

Edit Page

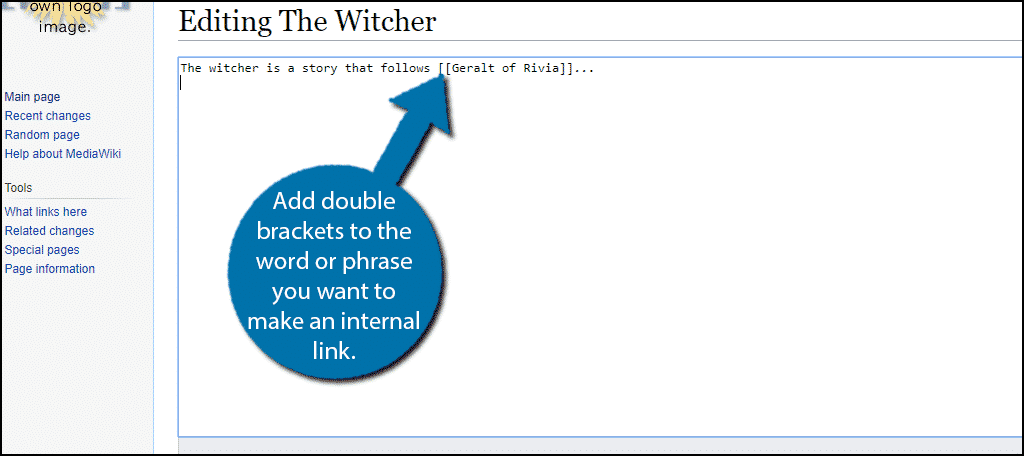
Adding an internal link is quite easy. To do so, simply surround the word or phrase with double brackets.

So for example, if I wanted to make “Geralt of Rivia” an internal link, I would need to write it as [[Geralt of Rivia]].

Double Brackets

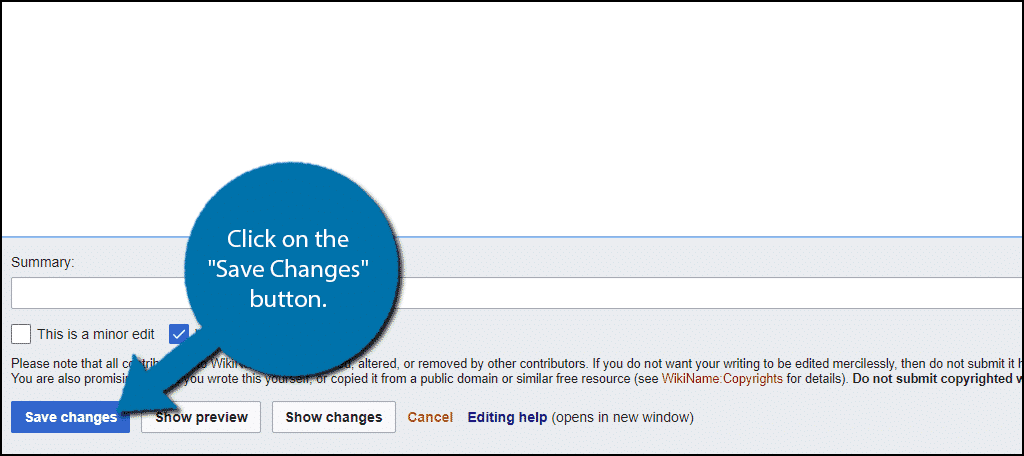
Once you have done so, click on the “Save Changes” button.

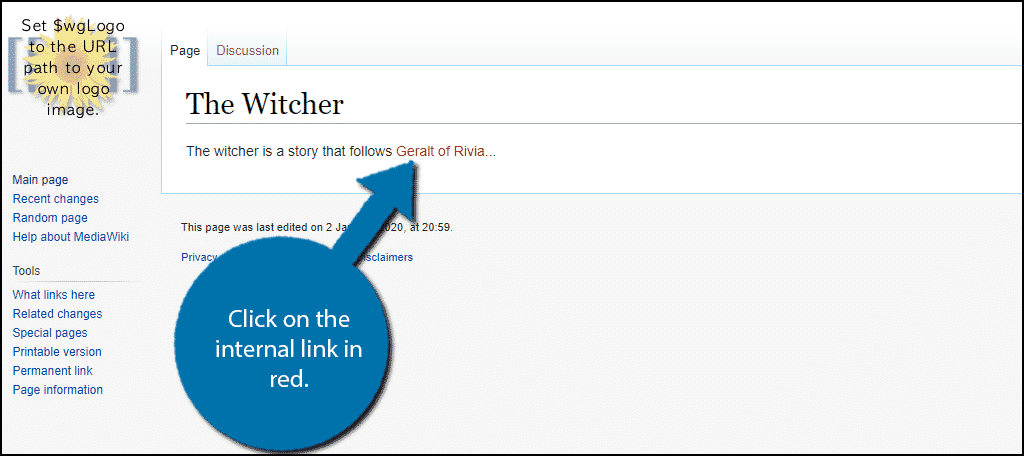
Now when you view that page, the internal link you created will be in red text. Click on the internal link.

Red Link

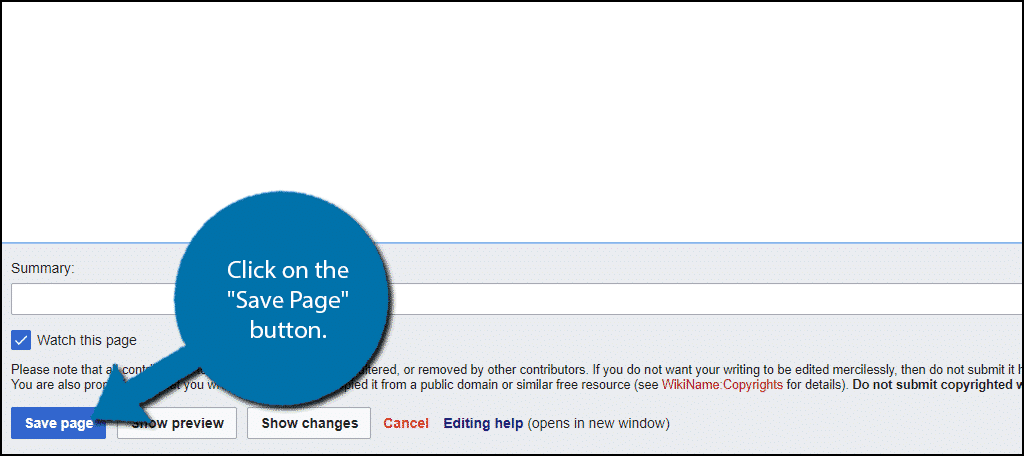
You will now be on the page creation screen. Enter all of the information and click on the “Save Page” button.

This method is what I consider the heart and soul of the MediaWiki. What it does is prevent you from having to track down internal links like on other CMS.

For example, if you already have a page called “Geralt of Rivia” when you add the brackets, MediaWiki will automatically link to it if the spelling is the same.

This is meant to help you connect your wiki to itself as fast as possible. Again, the entire point of a wiki is that it is a self-contained knowledgebase.

When Should I use Each Method?

You know have three options to create pages may seem a bit tricky at first, but it isn’t hard once you get used to it.

Method 1 is really meant for when you delete a page. The actual “Create” option won’t be there otherwise.

Method 2 is optimal when you are searching for something and realize a page doesn’t exist.

Method 3 is the bread and butter of MediaWiki. You should be adding tons of internal links and if you think something deserves its own page while writing, just add two brackets. The red text helps you identify why an internal link doesn’t have a page created.

Be As Detailed As Possible

Learning how to create a wiki is not as easy as it seems. Even if you are passionate about the topic, some topics are too vast for one person to cover. Luckily, that’s where your visitors and contributors can help.

The more detailed your wiki is, the better it will perform. Just remember there is no topic or character too obscure for most wiki pages.

Which method do you use to create MediaWiki pages? How do you expand your wiki on a regular basis?


Share:

How to create a Facebook Business Page With Maisie Account For Free Step by Step With pictures Tutorials

 When you create a Maisie account you will be asked to connect your Facebook Business Page.

A Facebook Business Page is absolutely essential if you want to have access to all of Facebook’s features to promote your business. Do not under any circumstances create a new Facebook account just for your business – Facebook accounts are meant only for individuals!

If you don’t have a Facebook Business Page you can easily create one in a few minutes. Simply follow our instructions below and you’ll have a Page in no time at all!

1. Log in to your personal Facebook account – the one you wish to use with Maisie.

2. You will see your Facebook News Feed. In the top right hand corner of the screen click the dropdown menu arrow.

create facebook business page menu

3. Click Create Page in the menu.

4. Next you will see the Create a Page screen. Click the Get Started button in the Business or brand section on the left.

create facebook page main

5. Next you will be asked to give your Page a name and provide information about your business. Fill out all the information and click the Continue button when done.

create facebook page info screen

6. On the next two screens you will be asked to upload a Profile Picture and a Cover Photo for your business page. Unless you already have images ready you may skip these steps for now but make sure you come back later and do them to make your Page look great!

add profile picture to facebook page

7. Congratulations! You now have a Facebook Page for your business. It might not look too pretty at the moment but that’s okay you can fix it up later.

completed facebook business page

8 Your ready to go enjoy !!!!!!!!!!

Share:

How to Create a YouTube Channel Step by Step With Pictures Tutorials


How to Create a YouTube Channel

Creating a well-managed YouTube channel with consistent content can help businesses grow better, but doing it right is just as important. Here's how to do it step-by-step.

1. Sign in to your Google account.

You'll need a Google account to watch, share, create, and comment on YouTube content. Go to youtube.com and click "Sign In" in the upper right-hand corner. From there, you'll be taken to a Google sign-in page.

  1. If you have a Google account, you'll be prompted to sign in.
  2. If you have multiple Google accounts, be sure to select the one you want to be associated with the YouTube channel.
  3. If you do not have a Google account, click "Create Account" and follow the prompts to register for one.

How to create a YouTube channel step one: sign into Google2. Create a new YouTube channel using your Google account.

Once you're set up with and signed into your Google account, it's time to create a channel. Click your user icon in the upper right-hand corner. This represents both your Google account and your YouTube account (as YouTube is owned by Google). You'll see a drop-down menu, where you'll want to click "Settings."

How to create a YouTube channel step two: navigate to YouTube settingsFrom there, you'll be taken to your account overview. Click "Create a new channel" under "Your channel."

How to create a YouTube channel step three: click "create a new channel"

The first step is to create your new channel name. It can be whatever you want, and doesn't have to be the same name that you used to create your Google account — but we do recommend that it reflects the brand the YouTube Channel will represent.

Create your channel name on YouTubeAfter you enter the channel name, you might be asked to verify the account via text message or voice call. If that happens, enter the code you receive from the option you choose.

Once you've verified your account, you'll be taken to the dashboard for your channel. Now, it's time to start customizing it.

3. Navigate to the Customize Channel page.

We'll start with the fundamental details about your channel. From your channel dashboard, click "Customize channel."

How to customize basic info on YouTube channelFrom there, you'll be taken to the channel customization page.

You'll notice three tabs: "Layout," "Branding," and "Basic info." These three tabs will help you optimize your channel for viewers.

4. Add Basic Info to your channel for discoverability.

Start by clicking "Basic info."

basic-infoHere's where you'll enter some basic information about your channel, like the language your videos are in, as well as a description that helps people discover your channel when they enter search terms that describe what videos they're looking for. These keywords can include what your channel is about, the problems it helps solve, the people and products featured, your industry, and more.

You'll also be able to add links to sites you want to share with your viewers. These links will be displayed over your banner image (more on this later) like so:

5. Upload branding elements to your channel.

In addition to the descriptive details you've added, there's another element of customization for a new YouTube channel: The visuals.

How to customize branding on YouTube channelUnder the "Branding" tab, you'll be able to add your profile picture, banner image, and video watermark.

Profile Picture

Profile pictures help YouTube users identify the creator of a video when browsing video content. You'll see this image appear beneath YouTube videos on the play page, as shown below. YouTube recommends using a picture with dimensions of at least 98 x 98 pixels.

Video Watermark

The video watermark is displayed at the bottom right of every video you post (see below). You'll want to choose a logo that best represents you sized at 150 x 150 px.

6. Customize your more advanced layout options.

Click the "Layout" tab.

How to customize layout on YouTube channel

From here, you'll be able to specify certain details about how you want your content presented on your channel's page. You'll have the option to designate a video spotlight and organize your channel page with featured sections.

7. Add videos and optimize them for search.

To upload your first video to YouTube, click the "Create" button in the top-right corner and follow the prompts.

How to upload and create videos on YouTube channel

Optimizing your channel for discoverability is just the beginning. Once you start adding videos, you'll want to optimize them for search, which in turn helps users discover your video.

But this goes beyond giving your videos accurate, clear, and concise titles — though that is important. Below, we describe some of the most important things to optimize on YouTube.

Title

When we search for videos, one of the first things that our eyes are drawn to is the title. That's often what determines whether or not the viewer will click to watch your video, so the title should not only be compelling but also clear and concise.

Description

This should be limited to 1,000 characters — and remember that your viewer came here to watch a video, not to read a lot of text. Plus, YouTube only displays the first two or three lines of text, which comes to about 100 characters, so front-load the description with the most important information.

Tags

Using tags doesn't just let viewers know what your video is about — they also help YouTube understand your video's content and context. That way, YouTube can associate your video with similar videos, broadening your content's reach. But approach with caution: just as with your title, don't use misleading tags because they might get you more views. In fact, Google might penalize you for that.

Category

Choosing a category is another way to group your video with similar content on YouTube — but that might not be as simple as it sounds. YouTube's Creator Academy suggests that marketers "think about what is working well for each category" you're considering by answering questions like:

  • Who are the top creators within the category? What are they known for, and what do they do well?
  • Are there any patterns between the audiences of similar channels within a given category?
  • Do the videos within a similar category share qualities like production value, length, or format?
  • That's it — you've officially not only created a YouTube channel but now also know how to optimize its content for discoverability.


Share:

How to Create a Bootable USB Using Rufus With Pictures Tutorials

 DOWNLOAD WEBSITE Rufus - Create bootable USB drives the easy way

How to Create a Bootable USB Using Rufus

What is a Bootable USB?

A “bootable USB” is a regular USB storage device (like a USB stick or external hard drive) that has an “ISO image” of an operating system saved on it. 

An ISO image is an archive file that contains all the information found on an optical disc, such as a CD or DVD. This could, for example, be a Windows installation CD.

Normally, whenever you start up your computer, it boots from the operating system stored on your internal hard drive. By running the bootable USB however, you can boot up your computer using the USB’s ISO image instead. 

This can be useful if you ever need to recover, repair or install an operating system on your computer.

How to Create a Bootable USB using Rufus

Rufus is one of several programs that allow you to create an “ISO image” on a USB stick. To create a bootable USB using Rufus, all you need is:

  • Your ISO of choice, e.g. Windows 10
  • The latest version of Rufus (available online from https://rufus.ie)
  • A spare USB stick (an 8GB USB should be plenty for Windows 10 but make sure you have one that’s large enough for the ISO you’re using)

Once you’ve got these ready, just follow these steps to make your own bootable USB:

Step 1: Open up Rufus and plug your clean USB stick into your computer.

Step 2: Rufus will automatically detect your USB. Click on Device and choose the USB you want to use from the drop-down menu.

Step 3: Make sure the Boot Selection option is set to Disk or ISO image then click Select. Rufus will open a file explorer browser window; locate the ISO image you want to burn onto the USB and select it.


Note: In the latest version of Rufus (3.5), there’s now an option to download the ISO image for Windows 8.1 or 10 directly through Rufus, if you don’t already have a copy saved. Just click on the drop-down arrow next to the Select button and choose Download instead. This will open a dialogue box where you can choose which Windows version you want to download.


Step 4: You’ll generally want to create a Standard Windows installation, and Rufus will automatically detect the correct Partition Scheme based on your device, so keep the default settings as they are. However, you can also change these if you want.

Step 5: Give the Volume label a name of your choice, or leave it as it is, and once again leave the default settings for File system and Cluster size. Now click Start


Note: if the USB you’re using isn’t large enough, you’ll get an error message you letting you know. In this case, you’ll need to start again with a different larger USB.

Step 6: You’ll get a warning saying that any data on the USB will be destroyed (this is normal). Click OK and Rufus will start creating the ISO image on the USB.

Step 7: Once Rufus has finished creating the ISO image on the USB, you can close it and your bootable USB is ready to go!


Share: