Step 1: Download the TeamViewer installation package
The first step in installing TeamViewer on Windows 10 or 11 is to download the installation package from the official TeamViewer website.
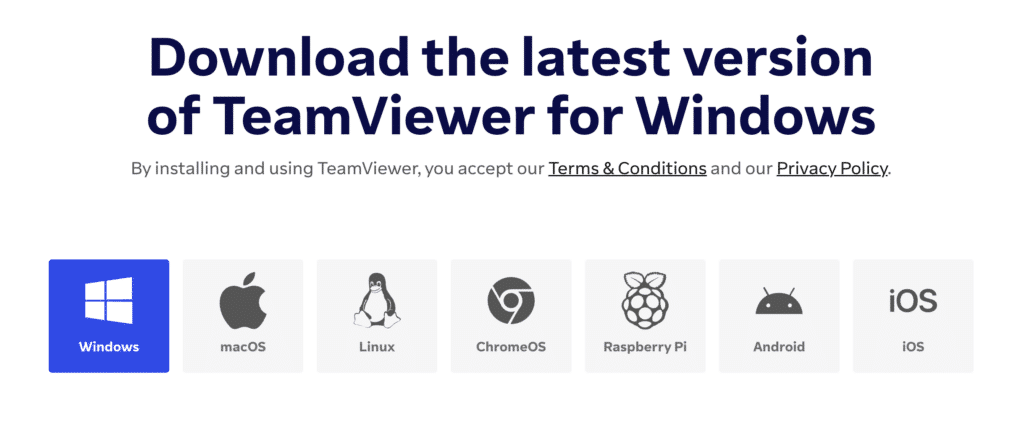 and click on the “Download” button to download the installation package.
Step 2: Install TeamViewer
Once you’ve downloaded the file, locate it in your “Downloads” folder and double-click it to launch the installation.
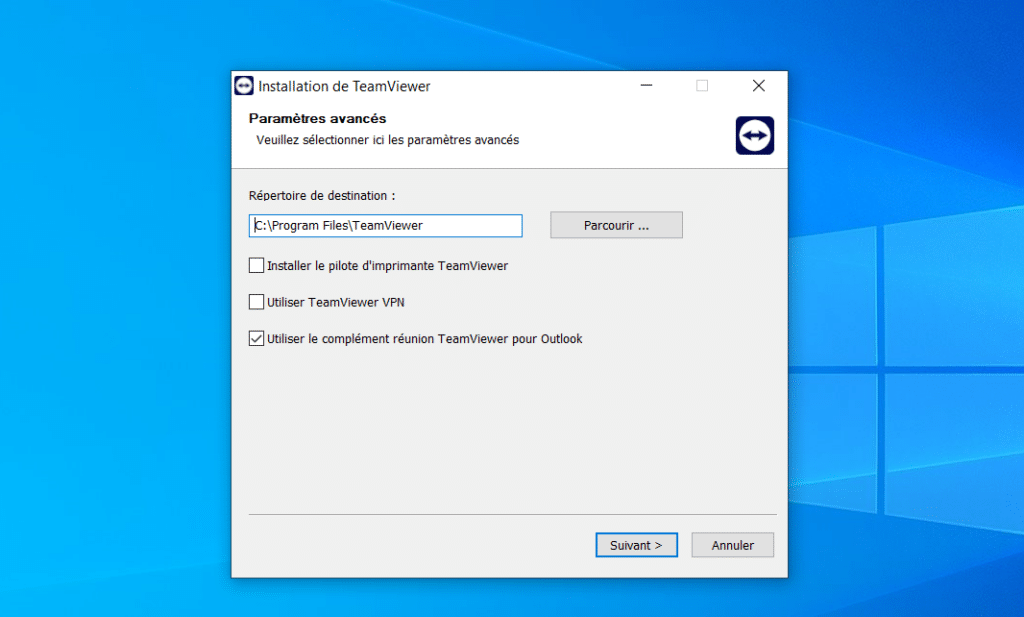
Follow the installation wizard instructions: accept the general license conditions, choose the type of installation (we recommend “Installation to access this computer remotely” for most users), then click “Install”.
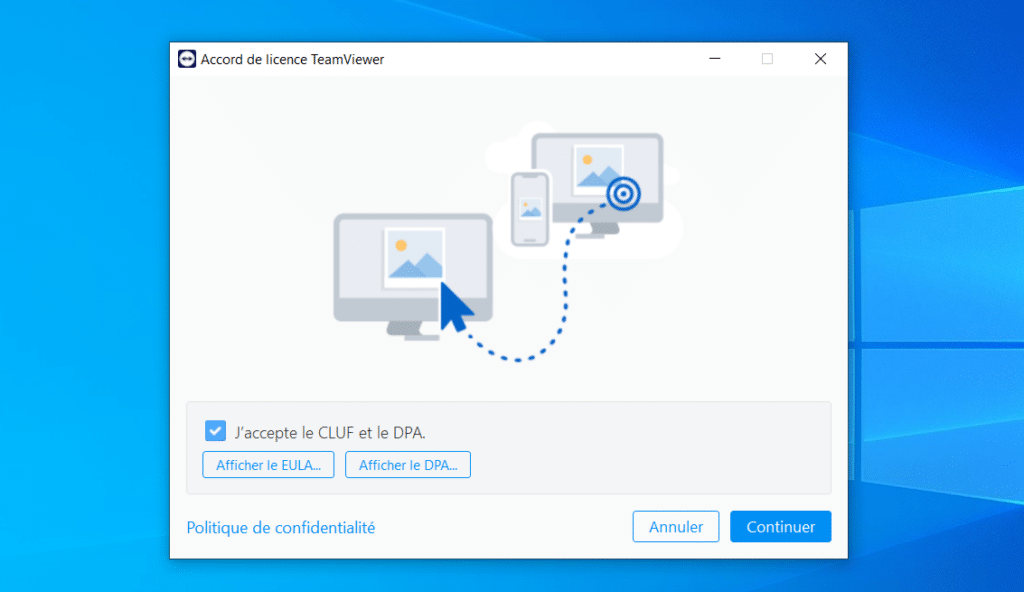
Please wait a few seconds for the installation to finish.
Step 3: Launch TeamViewer
Once installation is complete, TeamViewer should launch automatically. If not, you can launch it by searching for “TeamViewer” in the search bar of your “Start” menu, then clicking on the TeamViewer icon.
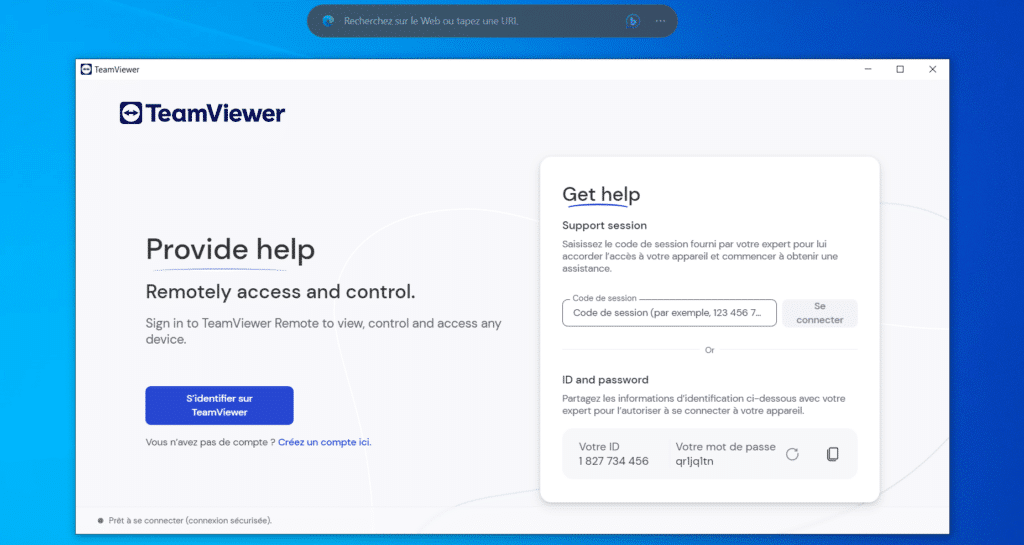
The first time you launch TeamViewer, you’ll be asked to create an account or connect to an existing one. This is necessary to use certain functions. If you don’t wish to create an account, simply close this window.
Conclusion
Installing TeamViewer on Windows 10 or 11 is a simple process requiring just a few steps. TeamViewer is a powerful tool for screen sharing, remote control and file transfer, making it indispensable for many Windows users. Whether you’re a professional looking for remote collaboration tools, or just someone who needs help solving a computer problem, TeamViewer is the tool for you.
DOWNLOAD TEAMVEWER 11 CRACK