How to Install Windows 10
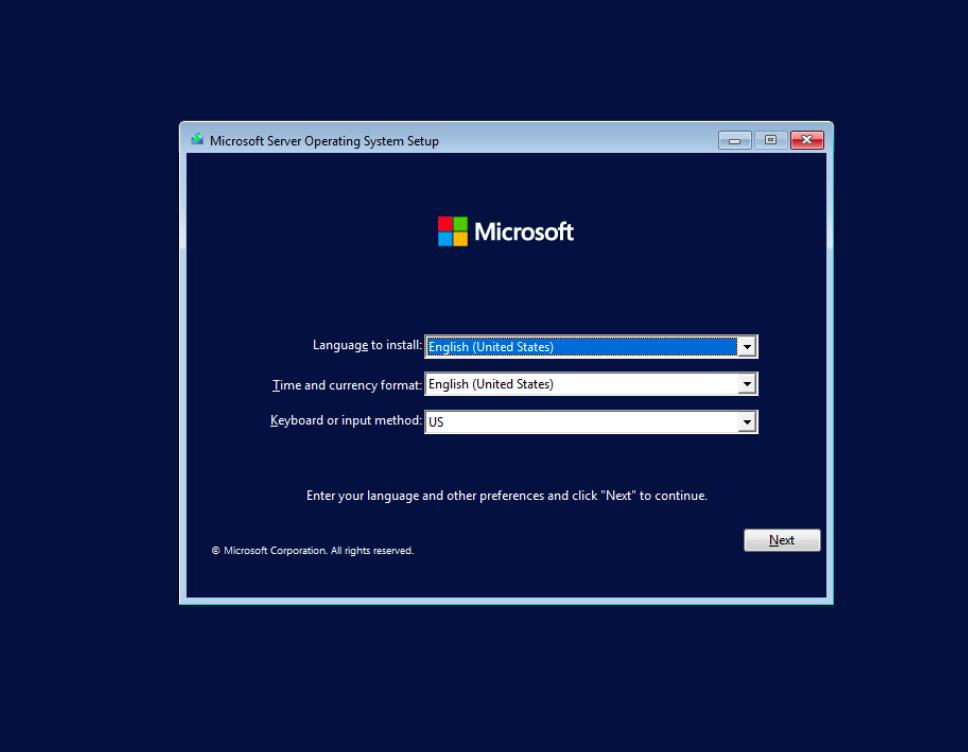
To clean install Windows 10 from USB, use these steps:
Start the PC with the Windows 10 USB flash drive.
Press any key to continue.
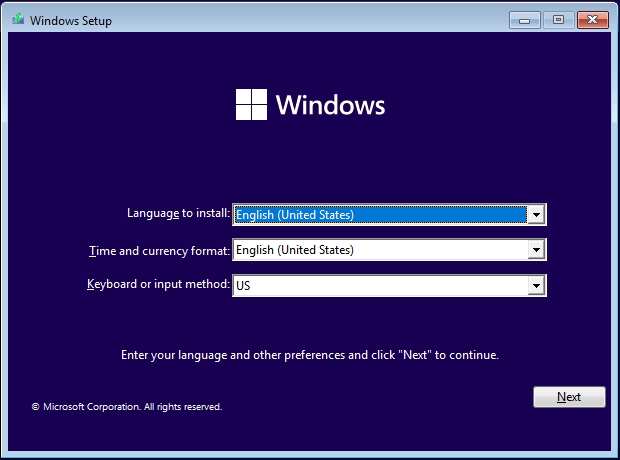
Click the Next button.

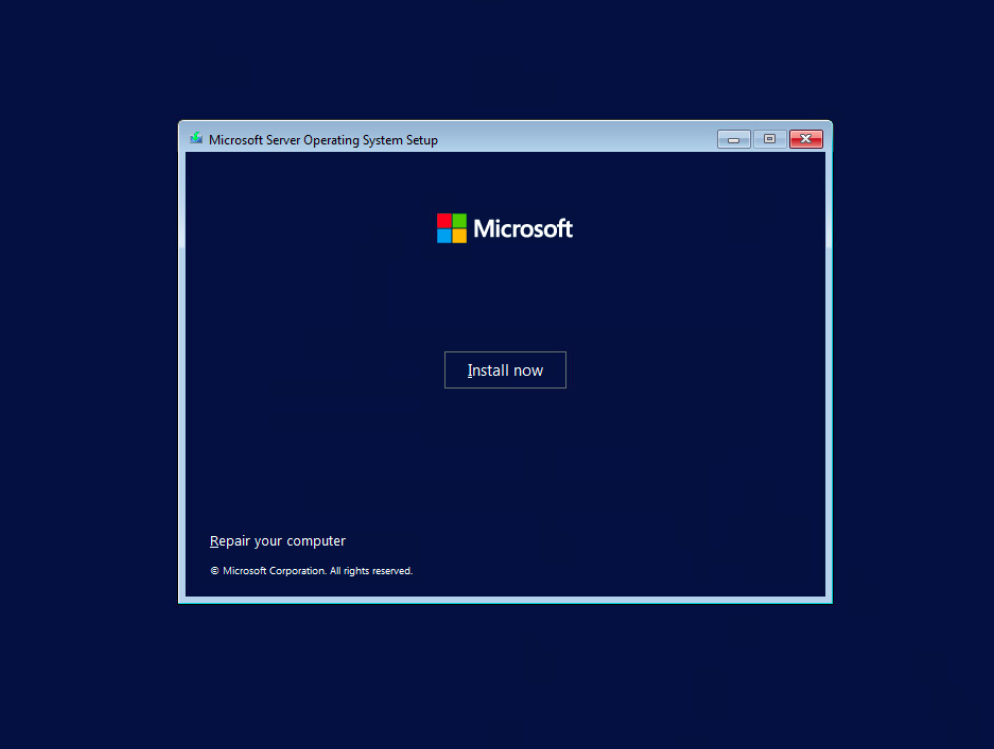
Click the Install now button.

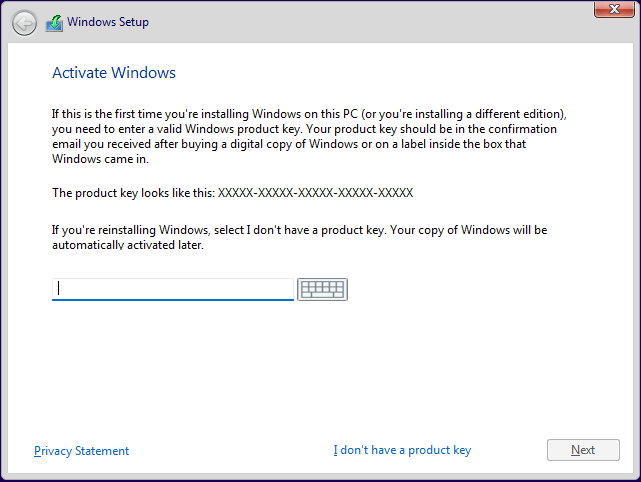
Click the “I don’t have a product key” option if you are doing a reinstallation. If Windows 10 was already activated after the installation, reactivation would happen automatically.

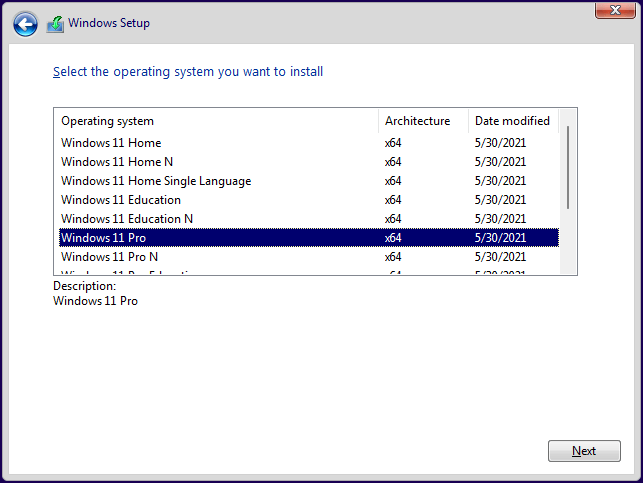
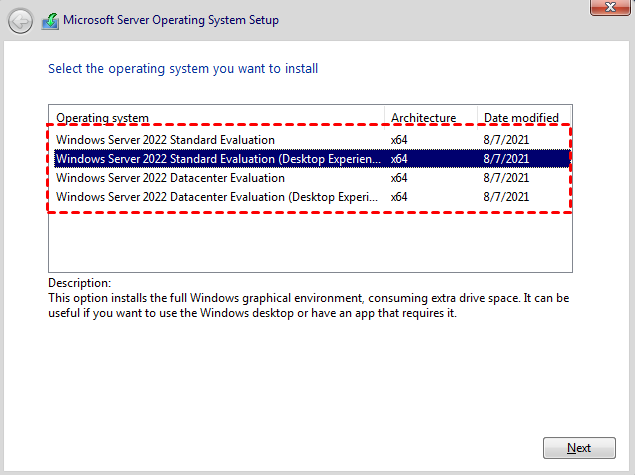
Select the edition of “Windows 10” that your license key activates (if applicable).

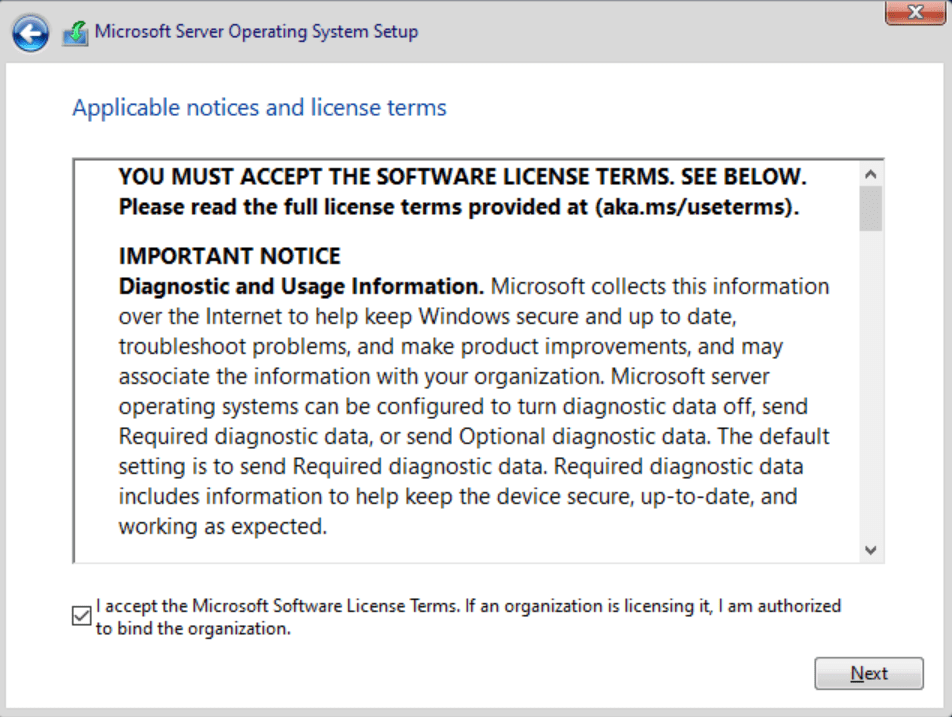
Check the “I accept the license terms” option.
Click the Next button.
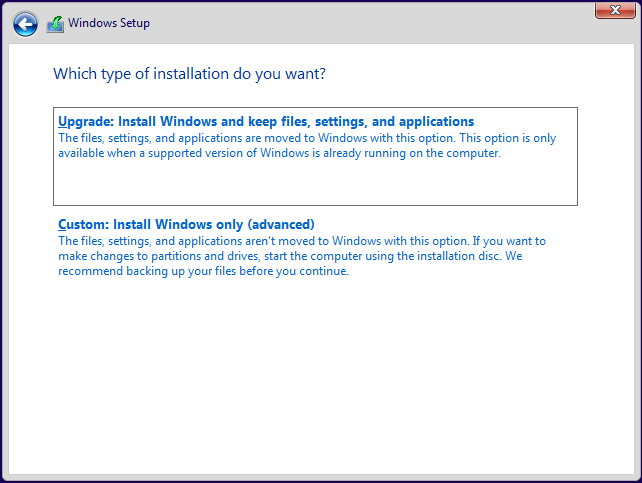
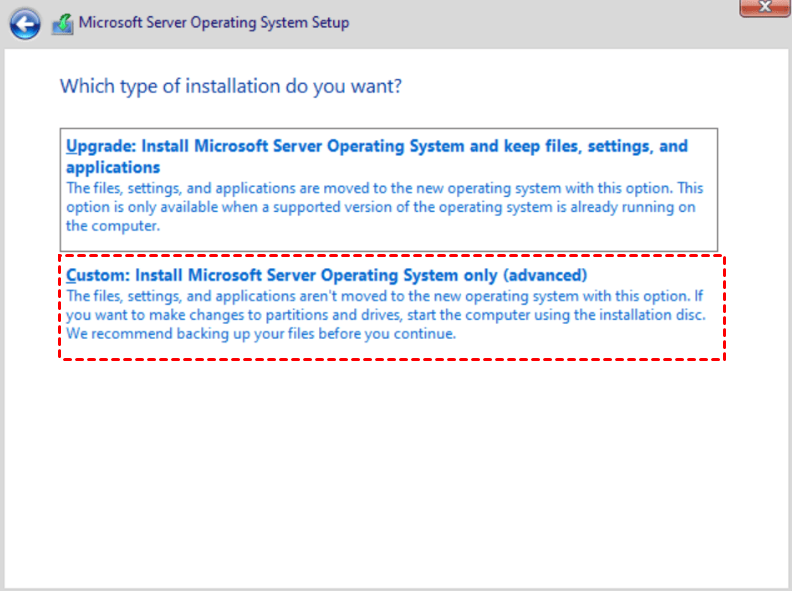
Select the “Custom: Install Windows only (advanced)” option to perform a clean install.

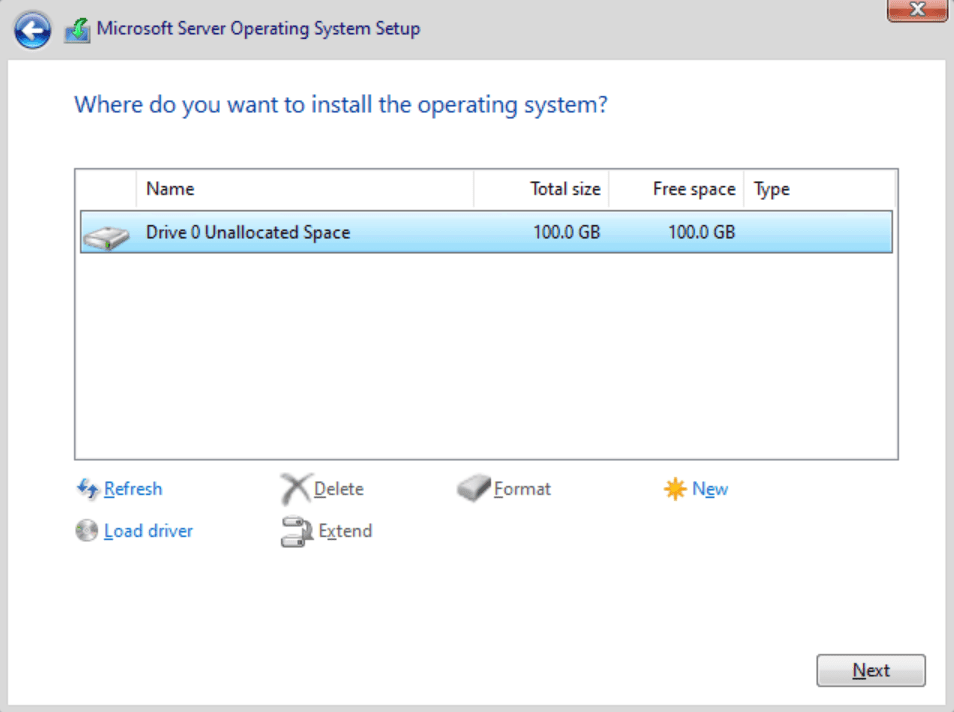
Select each partition in the hard drive you want to install Windows 10 and click the Delete button. (Typically, the “Drive 0” is the drive that contains all the installation files.)
Warning: Deleting a partition also deletes all data on the drive. Also, it is not required to delete the partitions from a secondary hard drive.Select the hard drive (Drive 0 Unallocated Space) to install Windows 10.

Click the Next button.
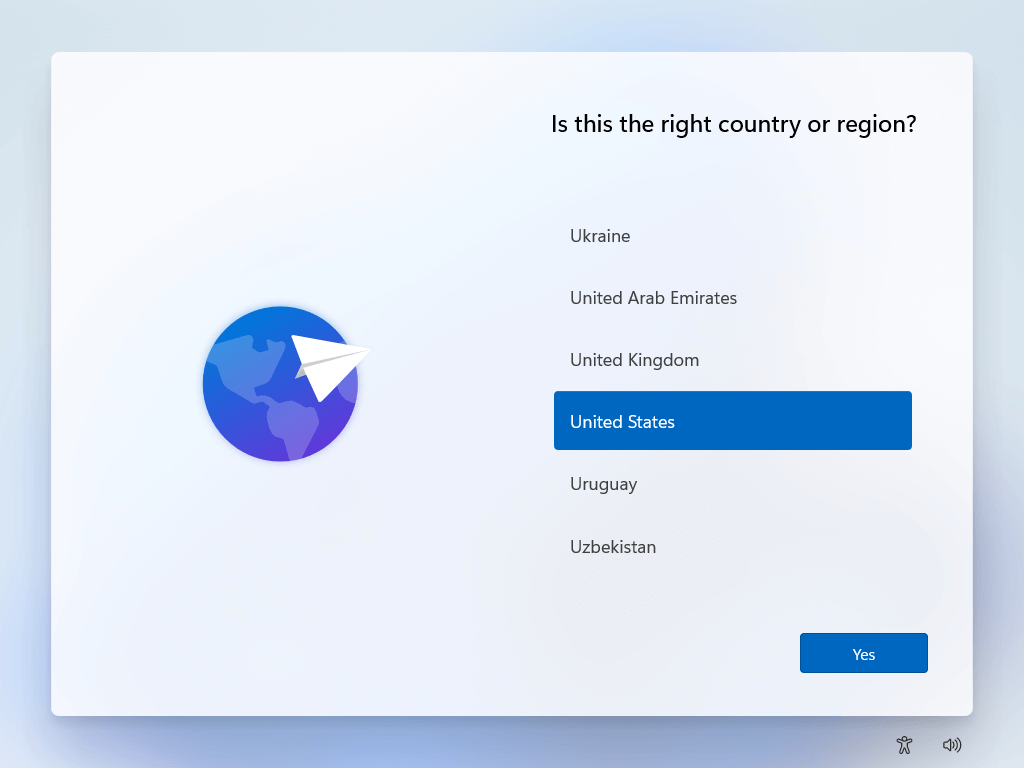
Select your region setting after the installation on the first page of the out-of-the-box experience (OOBE).

Click the Yes button.
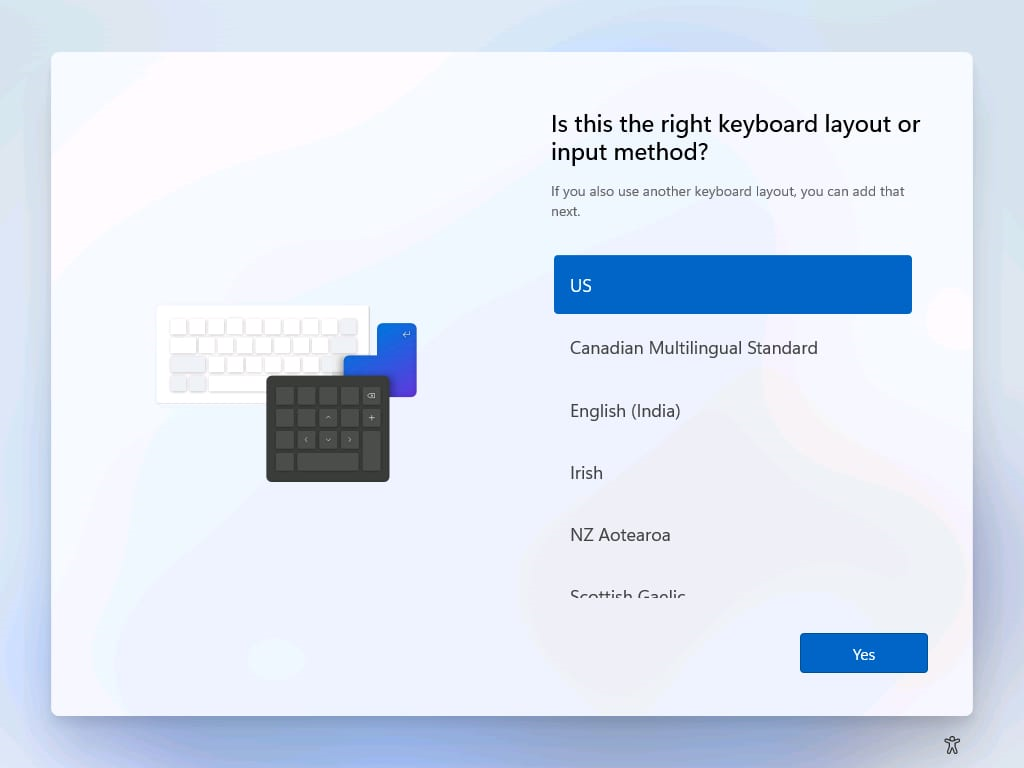
Select your keyboard layout setting.

Click the Yes button.
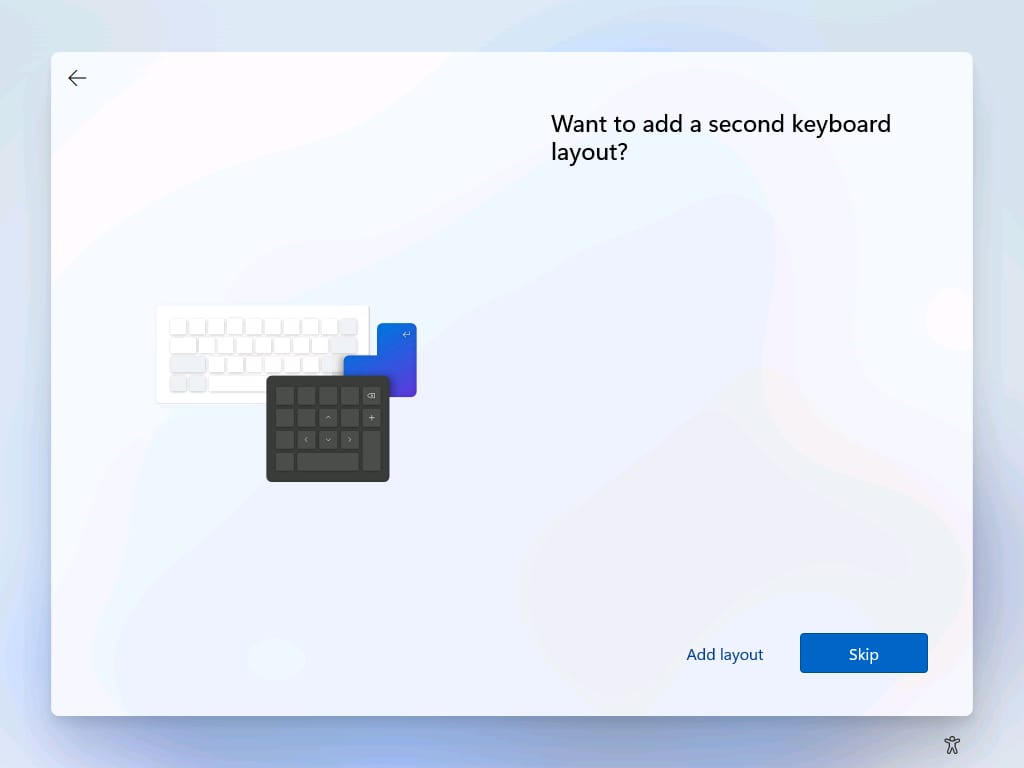
Click the Skip button if you do not need to configure a second layout.
The computer will automatically connect to the network using an Ethernet connection. If you have a wireless connection, you must set up the link manually (a security key may be required).
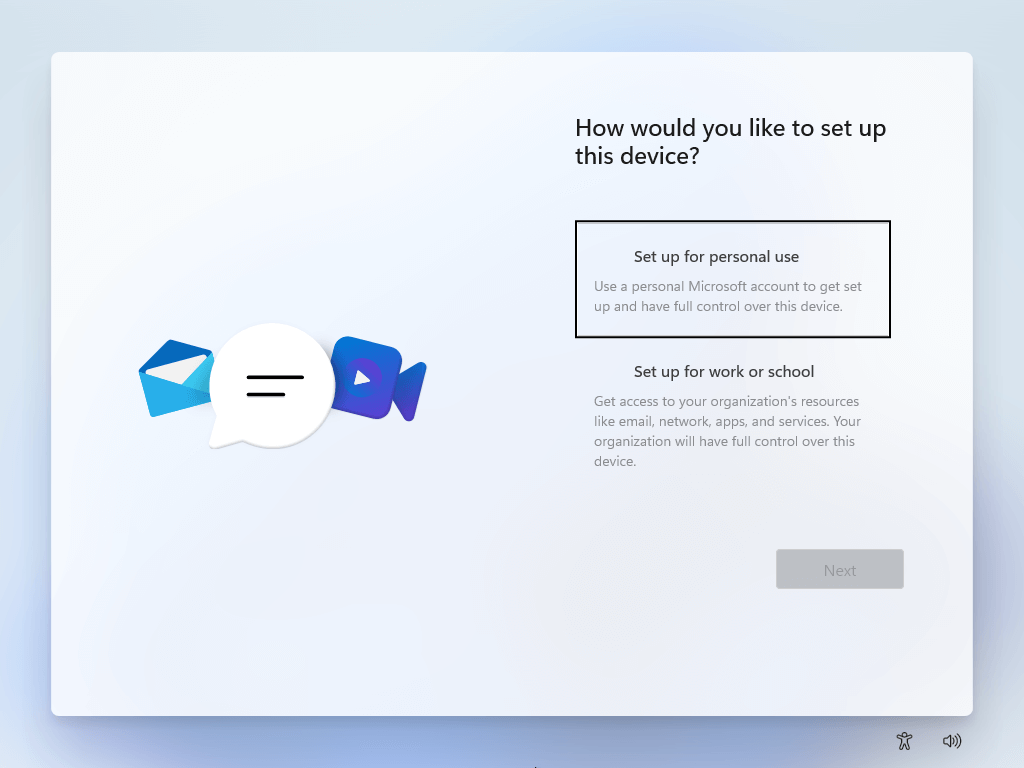
Select the “Set up for personal use” option for Windows 10 Pro. (The “Home” edition does not have this option.)

Click the Next button.
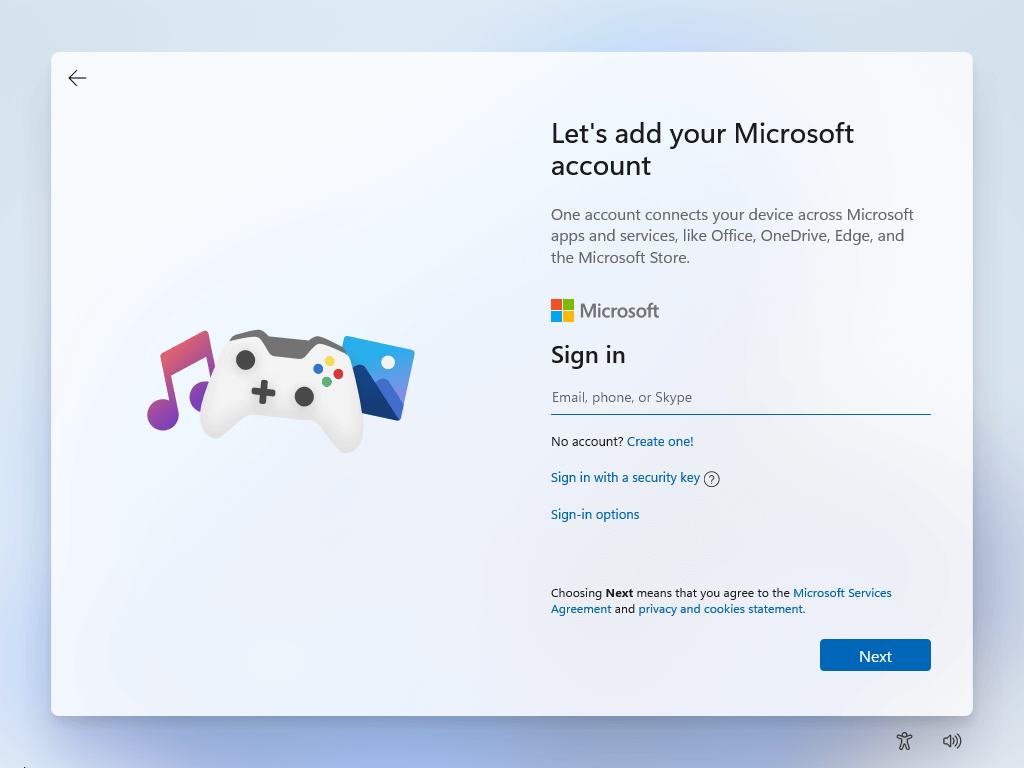
Confirm your Microsoft account email to create an account.

Click the Next button.
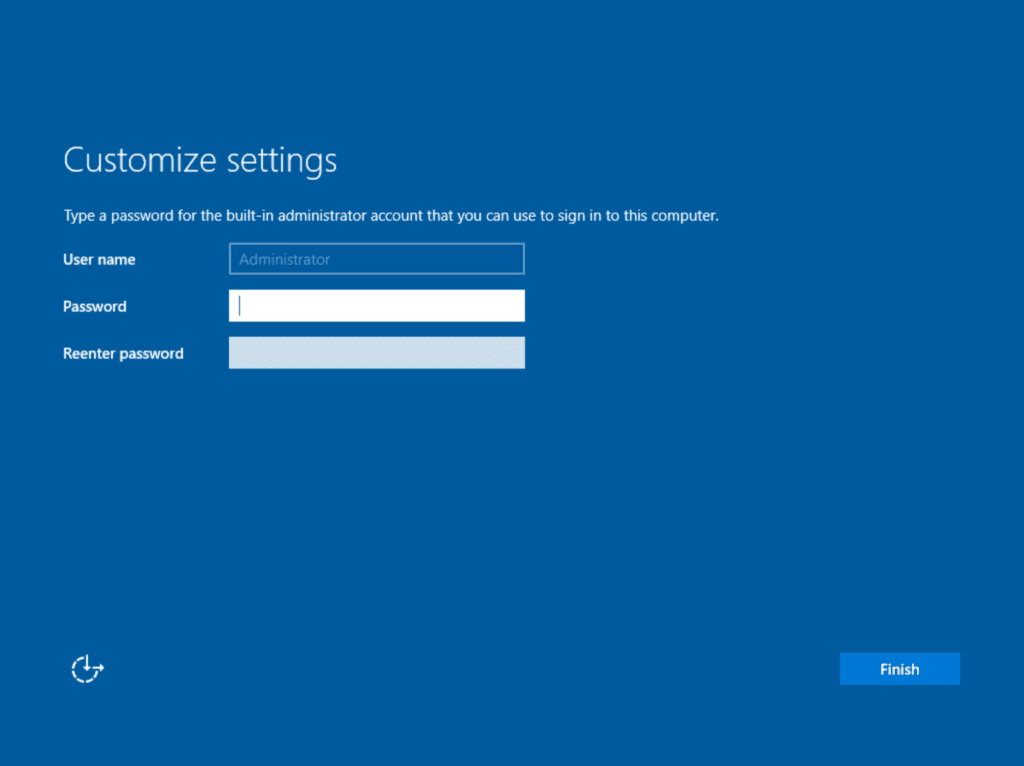
Confirm your account password.
Click the Next button.
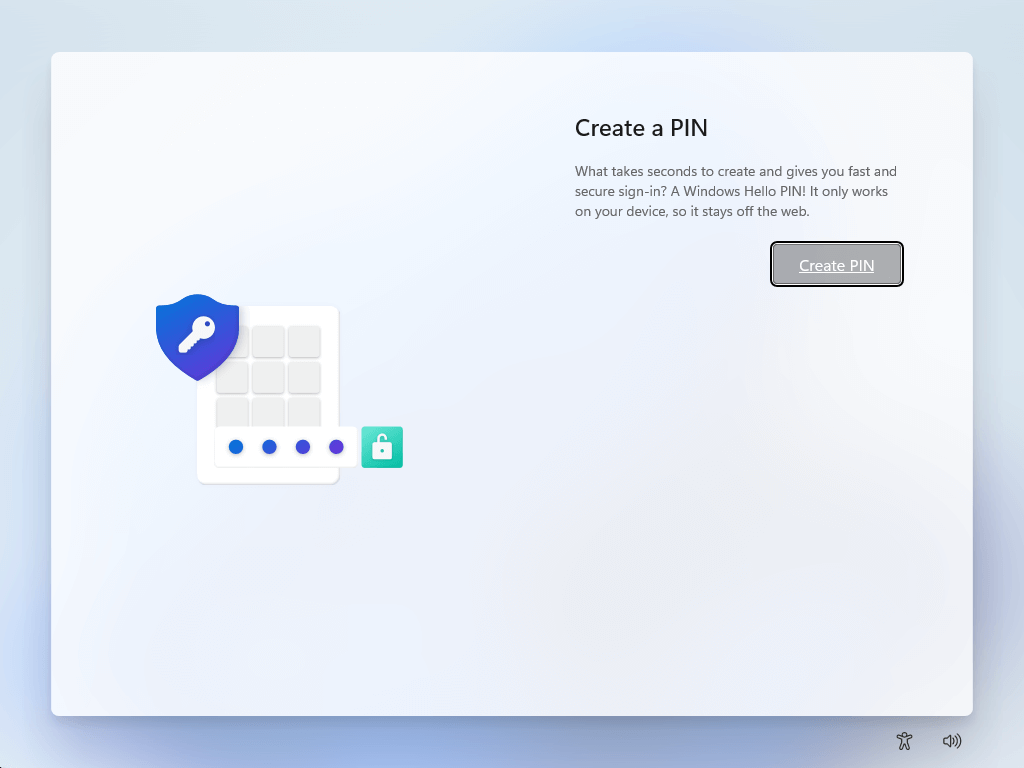
Click the “Create a PIN” button.
Create a new PIN password.

Click the OK button.
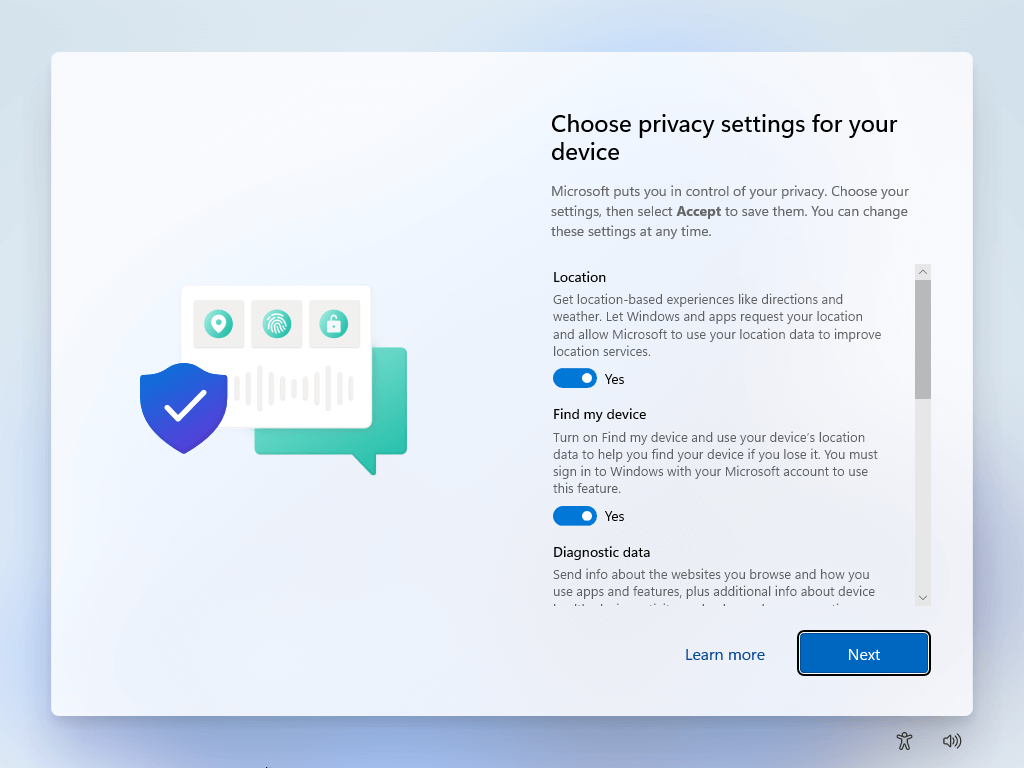
Confirm the privacy settings best suit your needs by turning on or off the toggle switch for each option.
Click the Accept button.

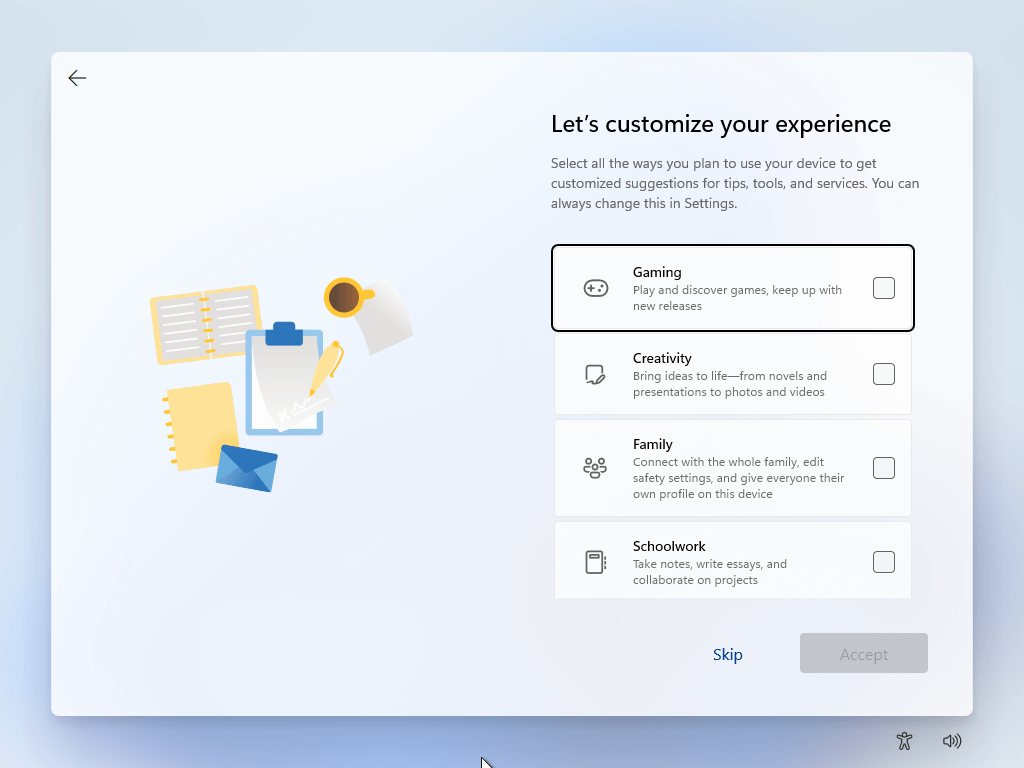
(Optional) On the “Customize your device” page, select one or more ways you plan to use the device to allow the setup to suggest tools and services customization during this experience.

Click the Accept button to continue. Or click the Skip button to skip this part of the setup.
Click the “No, thanks” button to skip linking your phone to your PC. (You can always do this from the Settings app.)
Click the Next button to allow OneDrive to automatically upload your Desktop, Pictures, and Documents folders to the cloud. Or click the “Only save files to this PC” option to skip this step.

Click the “No, thanks” button to skip the Microsoft 365 setup.

Click the Decline button to skip the OneDrive storage offer.
Click the “No Thanks” button to skip the Game Pass offer.
Click the “Not now” button to disable Cortana.

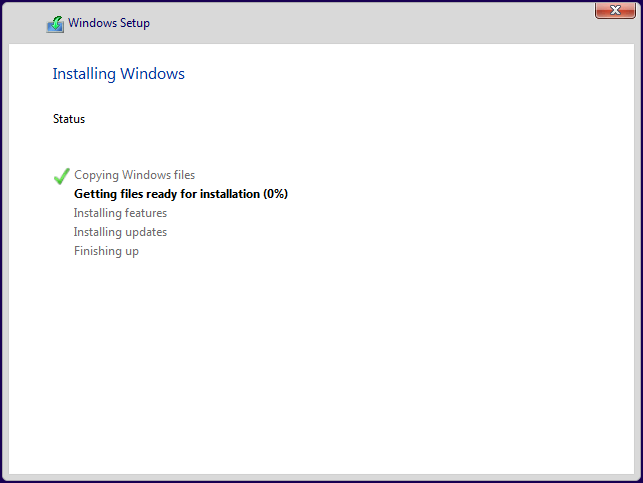
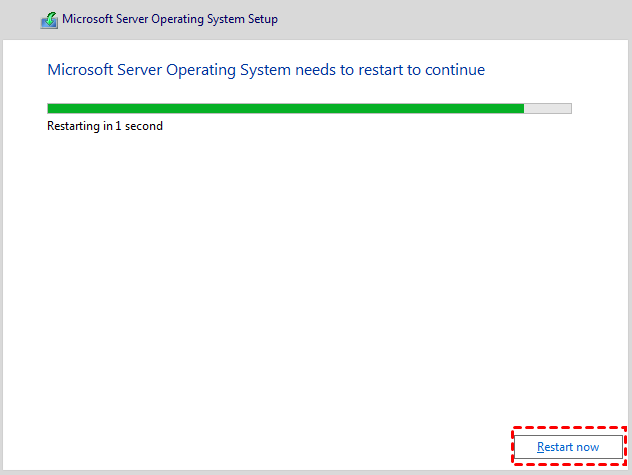
Once you complete the steps, Windows 10 will apply the settings and finish the setup.
download Windows 10 with office 2021
64 Bit