
Follow the below steps to install GIMP( GNU IMAGE MANIPULATION PROGRAM ) on Windows :
Step 1: Visit the official GIMP website using any web browser.
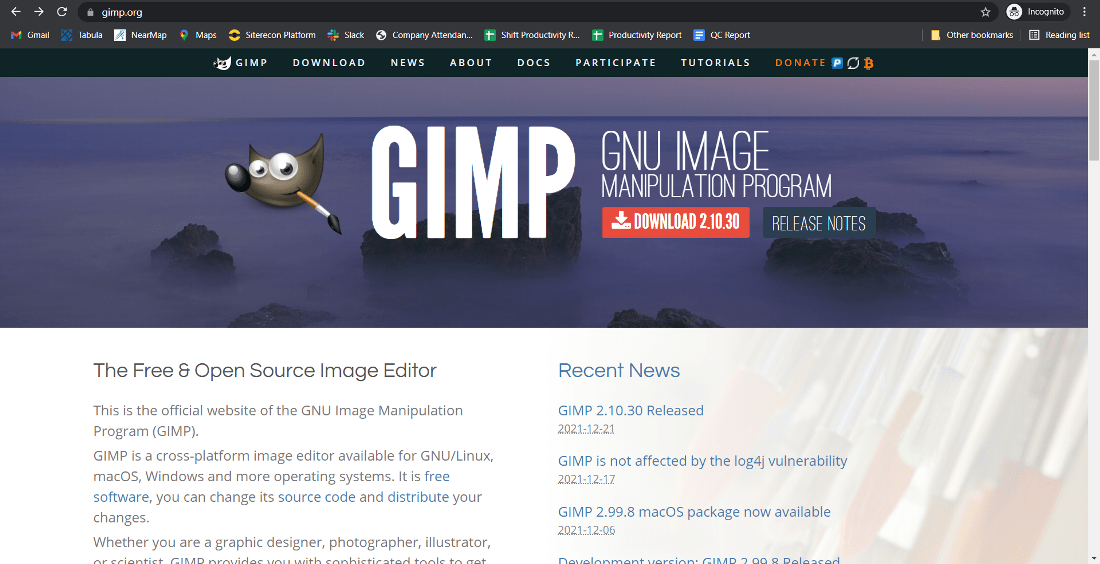
Step 2: Click On the Download button.

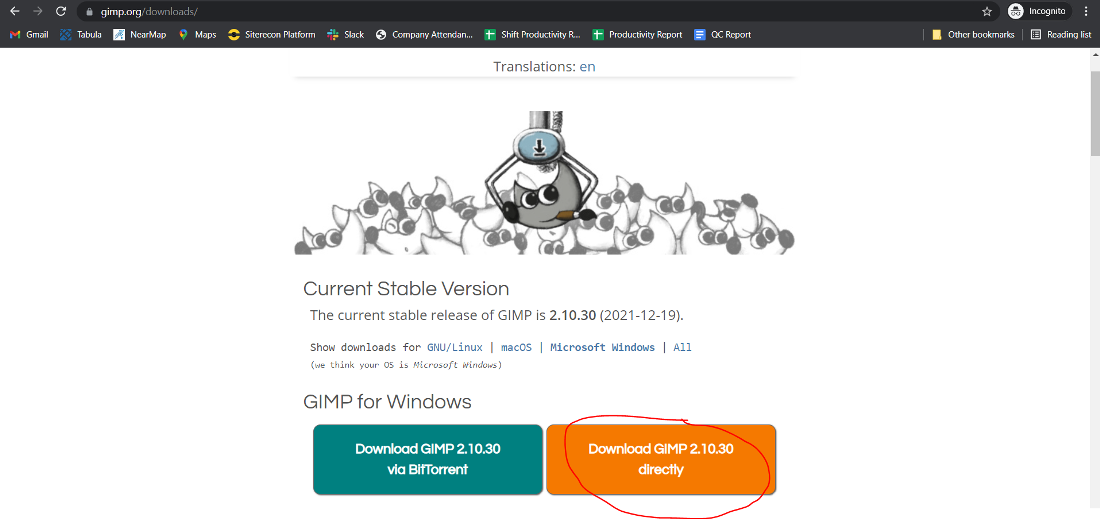
Step 3: Next webpage will open now click on Download GIMP directly.
Step 4: Now check for the executable file in downloads in your system and run it.

Step 5: It will prompt confirmation to make changes to your system. Click on Yes

Step 6: The next screen is to choose your setup language which you want to choose and click on OK.

Step 7: Now setup will start to click on customize to change the setup basics.

Step 8: The next screen will be of License Agreement, click on Next.


Step 11: Now the setup is ready to install. Click on Install.

Step 12: After this installation process will start and will take 2 – 5 minutes depends on your computer speed and specification to complete the installation.


At this point, GIMP is successfully installed on the system and an icon is created on the desktop.

Run the software and see the interface.


0 comments:
Post a Comment